Managing Images on Jadu
Photo Selection Guide
Choosing quality, high-resolution images with strong visuals are key to creating a striking and visually impressive website. Beyond strong visuals, it’s important that images are cropped properly and uploaded at proper sizing to avoid pixelization, stretching or compression.
Some general points for any photos being used on the website:
- High-resolution photography taken by our the Dickinson Photography and Multimedia Services team of students, campus, classroom experiences, etc. are always the preference
- In instances where graphical elements are required, be sure to:
- Avoid overly noisy patterns for backgrounds
- Utilize backgrounds that don’t draw attention away from the subject of the image
- Under no circumstances should images or graphics include embedded text outside of wordmarks or logos
- Embedded text overlaid on photos are inherently inaccessible and reflects poorly on the website’s accessibility overall
- All images uploaded to the website should include alternative text briefly describing the content of the image
- Alternative text should be written as if you were attempting to describe the photo to someone who cannot see it
- Images should not be enlarged to fit desired sections on the website, even utilizing third-party photo editing software
- If an image needs to be enlarged to fit within a section on the website, it’s better to choose a separate photo
Uploading Images
To upload an image for use on the website:
- Open the "Publishing" tab and open the "Multimedia Manager" link
- Select the "New Item" button at the top-right corner of the page
- Add your images by either:
- Clicking the "Browse" button and selecting the images you'd like to upload, or
- Dragging and dropping your images from your computer into the grey box that says "Drop your files here"
- Once added, click the "Upload File" button
- Once all images have been uploaded, and marked as Complete, click the "Continue" button
- For each uploaded image you must:
- Give the image a memorable title (please nothing inappropriate)
- Include any optional tags to aid in searching for the image in the future
- Provide the image with alternative text that briefly describes the content of the image
- Image you're attempting to describe this image to someone who cannot see it
- Click the check-box next to the category "Web Graphics"
- Once all images have been given proper settings and details, you can use the "Image Library" tool to add your image to Dickinson webpages
How To Crop and Resize Images:
Resizing images is fairly simple, just follow the quick how-to guide below:
- Navigate to Photopea.
- Click "Open from Computer" and select your image, or drag and drop your photo into the designated box.
- If necessary, crop your image:
- Select the Crop Tool from the left-side Tool Bar.

- Crop your image using the grid overlay on the photo, select your desired aspect ratio within the "Free" dropdown menu, or enter the ratio into the boxes adjacent to the dropdown menu. Specific aspect ratios can be referenced in the table below.
- Click the checkmark in the tool bar to confirm your crop.
- Select the Crop Tool from the left-side Tool Bar.
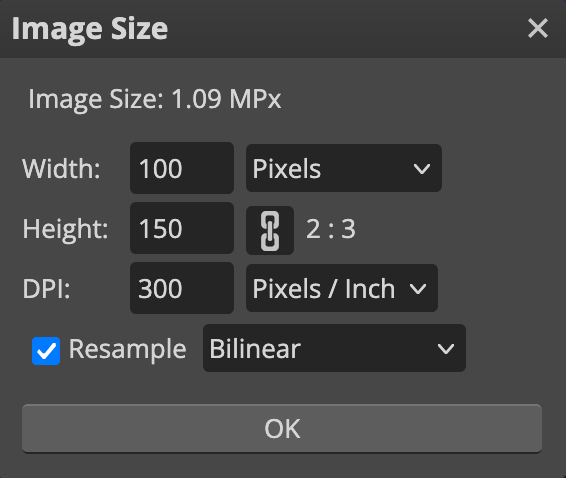
- Once cropped to your desired size, hover over the "Image" section within the upper-most menu and select the "Image Size" option.
- In the resulting box, enter your preferred size into the Width and Height boxes and click "Okay."
- To save your resized image, hover over the "File" section within the upper-most menu, navigate to the "Export As" option and select "JPG."
- In the resulting box, click "Save" and your resized image will be saved to your device.
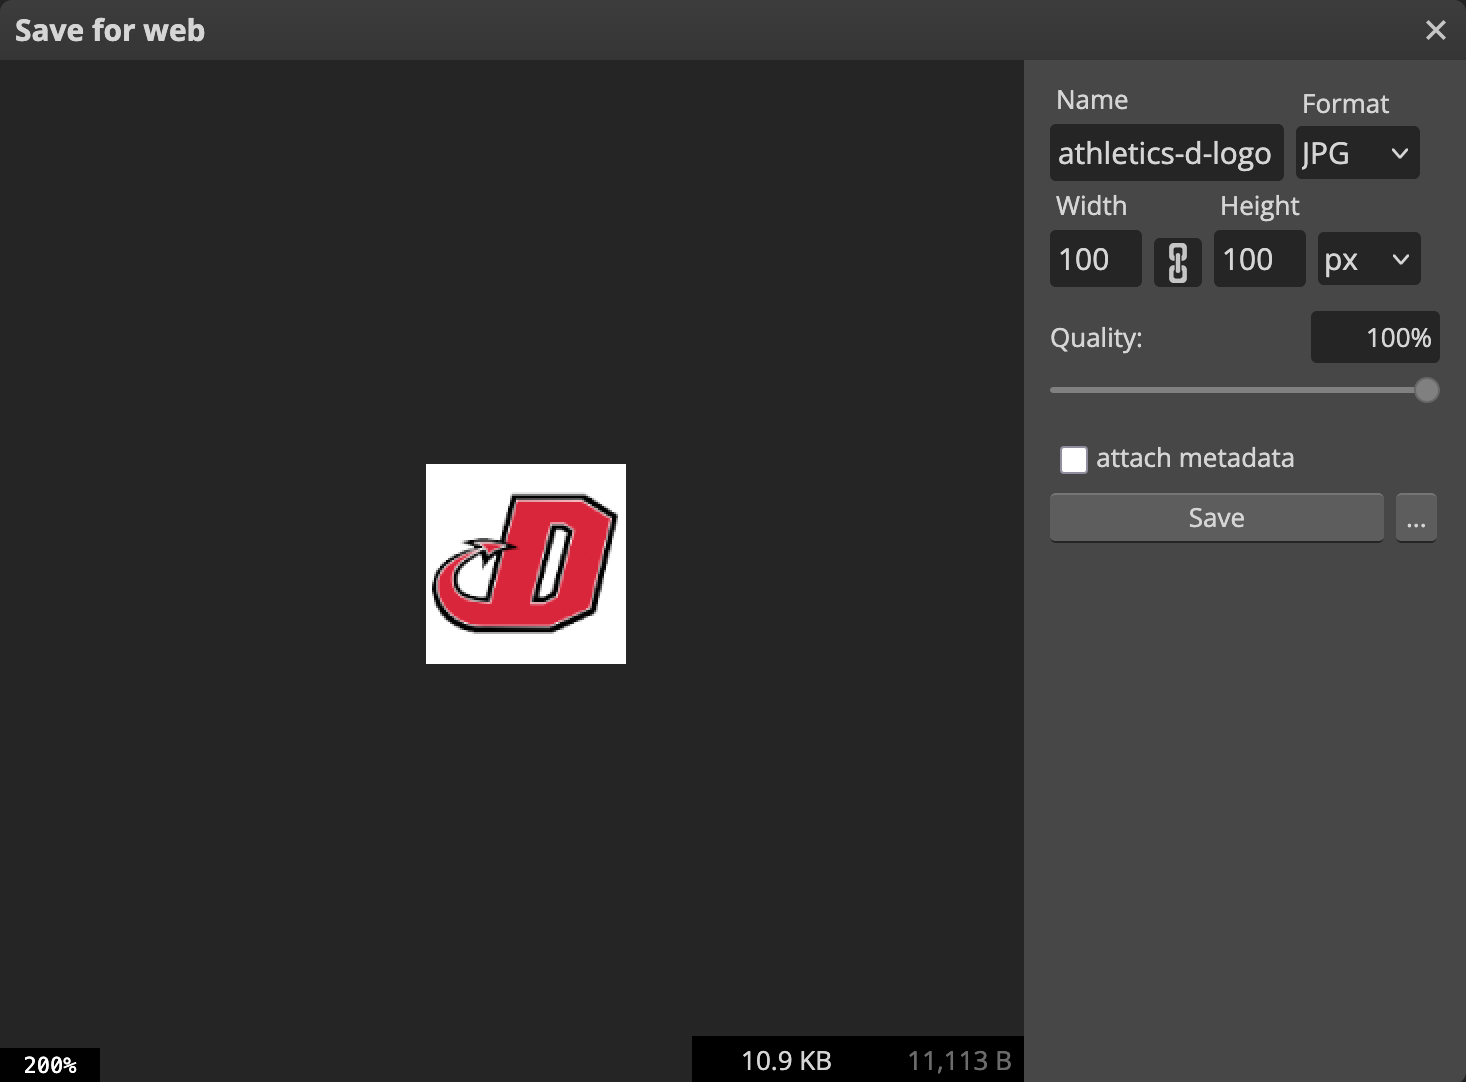
Image Resizing Chart
| Photo Type | Size Requirements |
|---|---|
| Faculty, Staff and Student Photos | 100px width by 150px height (2:3 aspect ratio) |
| Document Page Main Image | 700px (horizontal images only) |
| General Website Images | 1000px maximum on the image's longest side |
| Homepage Hero | 1400px width by 700px height (2:1 aspect ratio) |
Text-Wrapping Images
Follow the guide below on how to wrap text around images in Jadu!
- Click on the 'Insert Image' Icon in the WYSIWYG editor.
- Search for the image you would like to use (The image must be already in the system first, so if it's a new image upload it, then search it after).
- Look under the image preview on the right and select "Alignment" as "Left".
- Click "Use This Image" to add it to the document, from here you can add text to the right of the image!