1
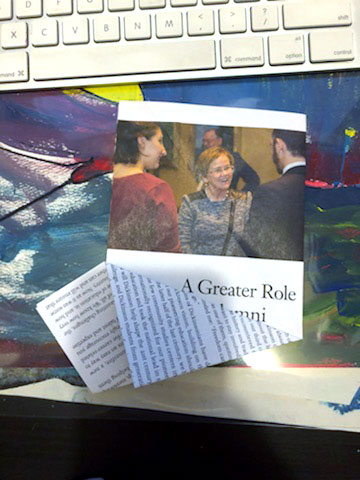
Remove staples or binding from magazine to extract individual sheets of paper. Trim one sheet of paper to a square with equal sides. Hint: A Dickinson Magazine page makes a nice 8.5-9” square.
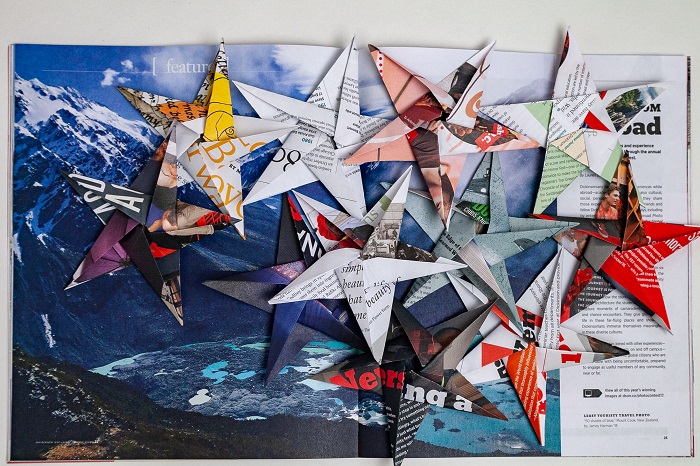
Collection of origami stars. Photo by Carl Socolow '77.
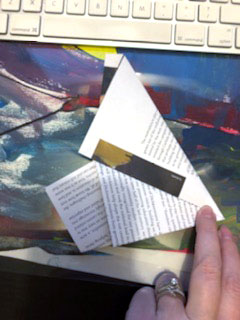
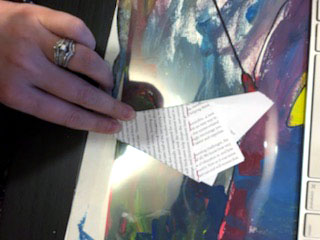
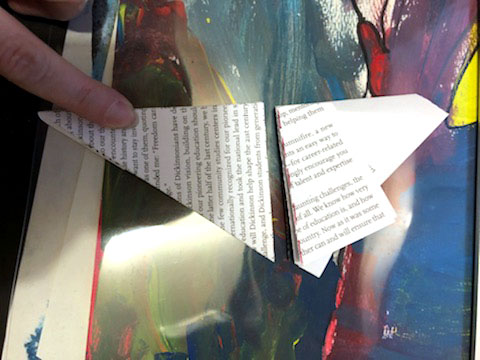
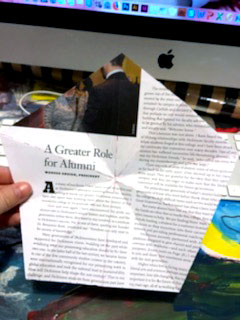
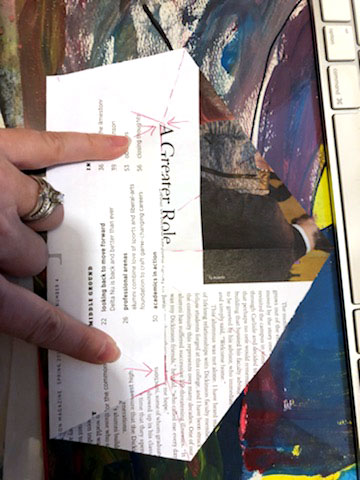
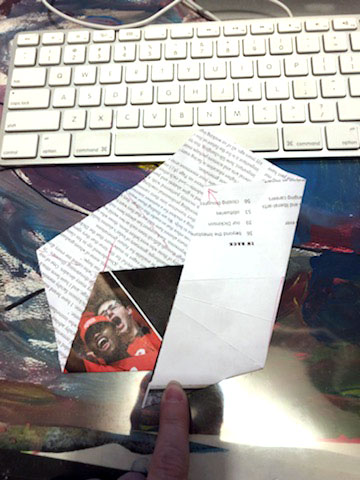
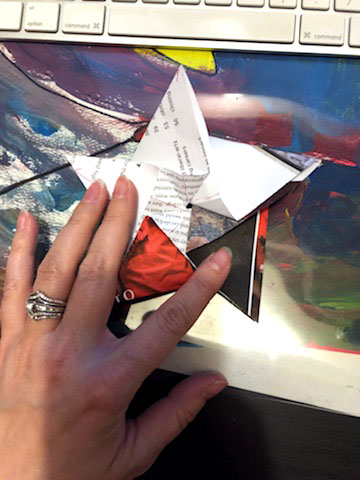
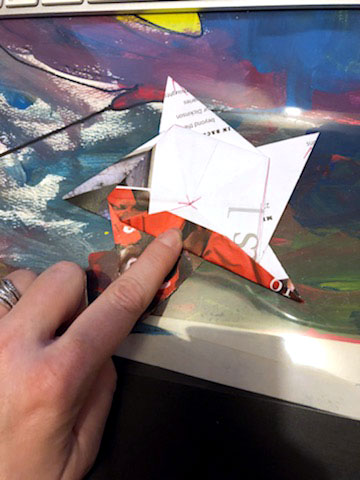
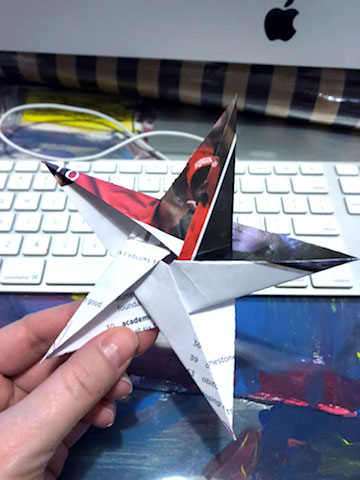
1 Remove staples or binding from magazine to extract individual sheets of paper. Trim one sheet of paper to a square with equal sides. Hint: A Dickinson Magazine page makes a nice 8.5-9” square. 2 Fold the square in half by bringing the right edge to meet the left edge, creating a rectangle. 3 Lightly fold the upper right corner point to meet the opposite left edge. Unfold and repeat with the upper left corner to meet the opposite right edge. Unfold. Hint: This should leave a small “x” impression on the upper half of the rectangle. 4 Bring the bottom right corner point (point A) to meet the center of the “x” impression and fold. 5 Fold corner point A to meet the bottommost edge of the paper (this should be the fold line you created in step 4). Hint: The bottom half of the rectangle should now have a kite or ice cream cone shape. 6 Fold the upper right corner edge to meet flush with the edge of the fold created in step 5 (the slanting side of the cone or kite). Hint: This forms two uneven halves, roughly resembling a funky heart shape. 7 Using the middle seam where the two sides meet as a centerline, fold the heart in half leaving the cone/kite on the outside. 8 Trim the entire form you’ve created at the lowest triangular portion of your cone/kiteDiscard top trimmings. 9 Unfold shape, which is now a pentagon. 10 With one straight edge parallel to you, fold the bottom edge points up to the opposing natural fold crease lines of the pentagon. Unfold and repeat with each of the five sides; leave the final side folded. Hint: You’ll be able to see a small pentagon in the center crease lines. 11 With one bottom side remaining folded, grasp the right bottom corner point and pull left. As you pull, the side fold to the right will slide back into the crease line you created in step 10. Firmly press and fold all edges then unfold. Rotate and repeat with all five sides. 12 Once all sides have been unfolded, grasp all corner points—they should naturally begin to fall into the star shape. Continue to push from the corner points into the center of the star and press firmly after the sides fold into one another. 13 Flip star over. You will see a small pentagon shape within the body of the star. One at a time, fold each pentagon corner point into the center of the form. Rotating counter-clockwise, the sides will each fold onto the one before them. 14 When you reach the final (fifth) side fold, lift and tuck the edge into the original (first) side fold to complete the star.

Send pictures of the creative ways you repurpose your magazines to dsonmag@dickinson.edu!
Read more from the fall 2018 issue of Dickinson Magazine.
Published October 22, 2018