Microfilm/Microfiche Scanning
This guide is also available as a PDF.
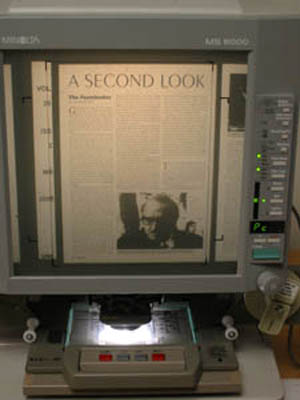 1) Position the text/image you wish to scan inside the microform reader's on-screen brackets.
|
 2) On the computer, open Adobe Acrobat (from the Desktop), then select File -> Import -> Scan
|
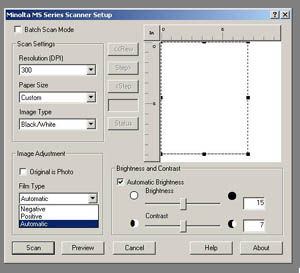 3) Set to scan at 300 DPI (higher DPI = more detailed image). If the film is white, set Film Type to positive. If the film is black, set it to negative.
|
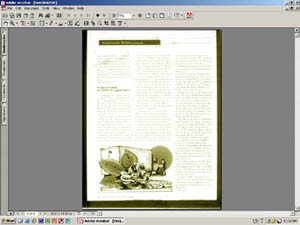 4) Click the 'Scan' button to scan the microform page into Acrobat. Repeat steps 1-3 until end of document. Then you may print or email the file.
|
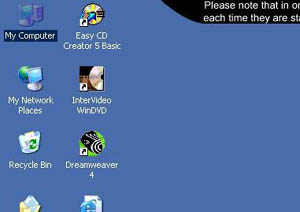 5) You may also save the PDF to your network folder. To access your network folder, double-click on My Computer on the Desktop.
|
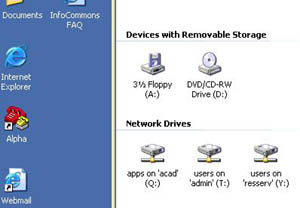 6) Student network folders are stored on the Y: drive, while faculty network folders are stored on the T: drive. Both drives are organized by last name.
|